
A home addition is one of the biggest projects most homeowners in Greater Boston ever take on, and if you have never done it before, the unknown can feel stressful. Knowing the order of events ahead of time makes the whole thing far less intimidating.
This guide walks through the home addition process step by step, from the first design conversation all the way to the final inspection. You will see what happens at each stage, roughly how long things take, and how to live through construction without losing your mind. Every project is different, so treat timelines and costs as general ranges. For numbers specific to your home, a free estimate is the best starting point.
New Power Construction is a family-run general contractor based in Malden, MA, with about 20 years of hands-on experience building additions across the area. The steps below reflect how a typical addition unfolds in Massachusetts.
Step 1: Design and Planning
Every addition starts on paper before anyone picks up a hammer. In this phase you decide what you are building (a bump-out, a second story, an in-law suite, a bigger kitchen) and how it connects to the existing house. Good planning here saves money and headaches later.
You will talk through your goals, your budget, and how the new space needs to function day to day. From there, drawings get developed so everyone can see the layout, rooflines, and how the addition ties into the current structure. This is also the moment to lock in big choices like window placement, ceiling height, and where plumbing or electrical will run.
Expect this stage to take a few weeks to a couple of months depending on the size and complexity of the project. It is worth the patience. Changes are cheap on paper and expensive once framing is up.
Step 2: Permits and Approvals in Massachusetts
Almost every addition in Massachusetts requires a building permit from your city or town, and often separate electrical and plumbing permits as well. This is not red tape you can skip. Work done without a permit can cause serious problems when you sell the home.
Your contractor typically prepares and submits the permit application along with the drawings to your local building department. In towns like Burlington and Bedford, the review can also involve zoning setbacks, which are rules about how close you can build to your property lines. Depending on the town, some projects may need a zoning review or a variance before a permit is issued.
Permit timelines vary widely by community, from a couple of weeks to a couple of months. It is a good idea to build this waiting period into your expectations early so it does not feel like a delay once construction is close.
Step 3: Site Prep and Foundation
Once the permit is in hand, real work begins. The crew protects the areas of your home that will stay untouched, then clears and prepares the ground where the addition will sit. This can mean removing part of an exterior wall, digging, and grading the site.
Next comes the foundation. Depending on your design and soil, this might be a full basement, a crawl space, a slab, or piers. Massachusetts frost depth means footings have to go deep enough to sit below the frost line, which protects the addition from heaving during cold winters.
After the concrete is poured, it needs time to cure and usually gets inspected before framing can start. This is a stage where weather can affect the schedule, so a little flexibility helps.
Step 4: Framing
Framing is the exciting part where your addition finally takes shape. The crew builds the skeleton of the new space: floors, walls, and the roof structure. For the first time you can walk through the rooms and get a real feel for the size.
Along with framing comes the exterior weather barrier, roofing, and windows and doors, so the addition becomes weathertight. Getting the structure closed in protects everything inside from rain and lets interior work continue regardless of the weather.
A framing inspection is standard before the walls get closed up. The inspector checks that the structure meets code. Once that passes, the project moves indoors.
Step 5: Rough-Ins for Plumbing, Electrical, and HVAC
With the frame open, tradespeople run the systems that live inside your walls. Electricians pull wiring for outlets, switches, and lights. Plumbers run supply and drain lines for any new bathrooms, kitchens, or laundry. Heating and cooling gets extended into the new space.
This stage is called the rough-in because nothing is finished or connected to fixtures yet. It is simply the behind-the-wall infrastructure. Because it will soon be hidden, getting it right now is critical.
Each of these systems typically gets its own inspection before the walls are closed. Once the rough electrical, plumbing, and mechanical inspections pass, the addition is ready to be insulated and sealed up.
Step 6: Insulation, Drywall, and Finish Work
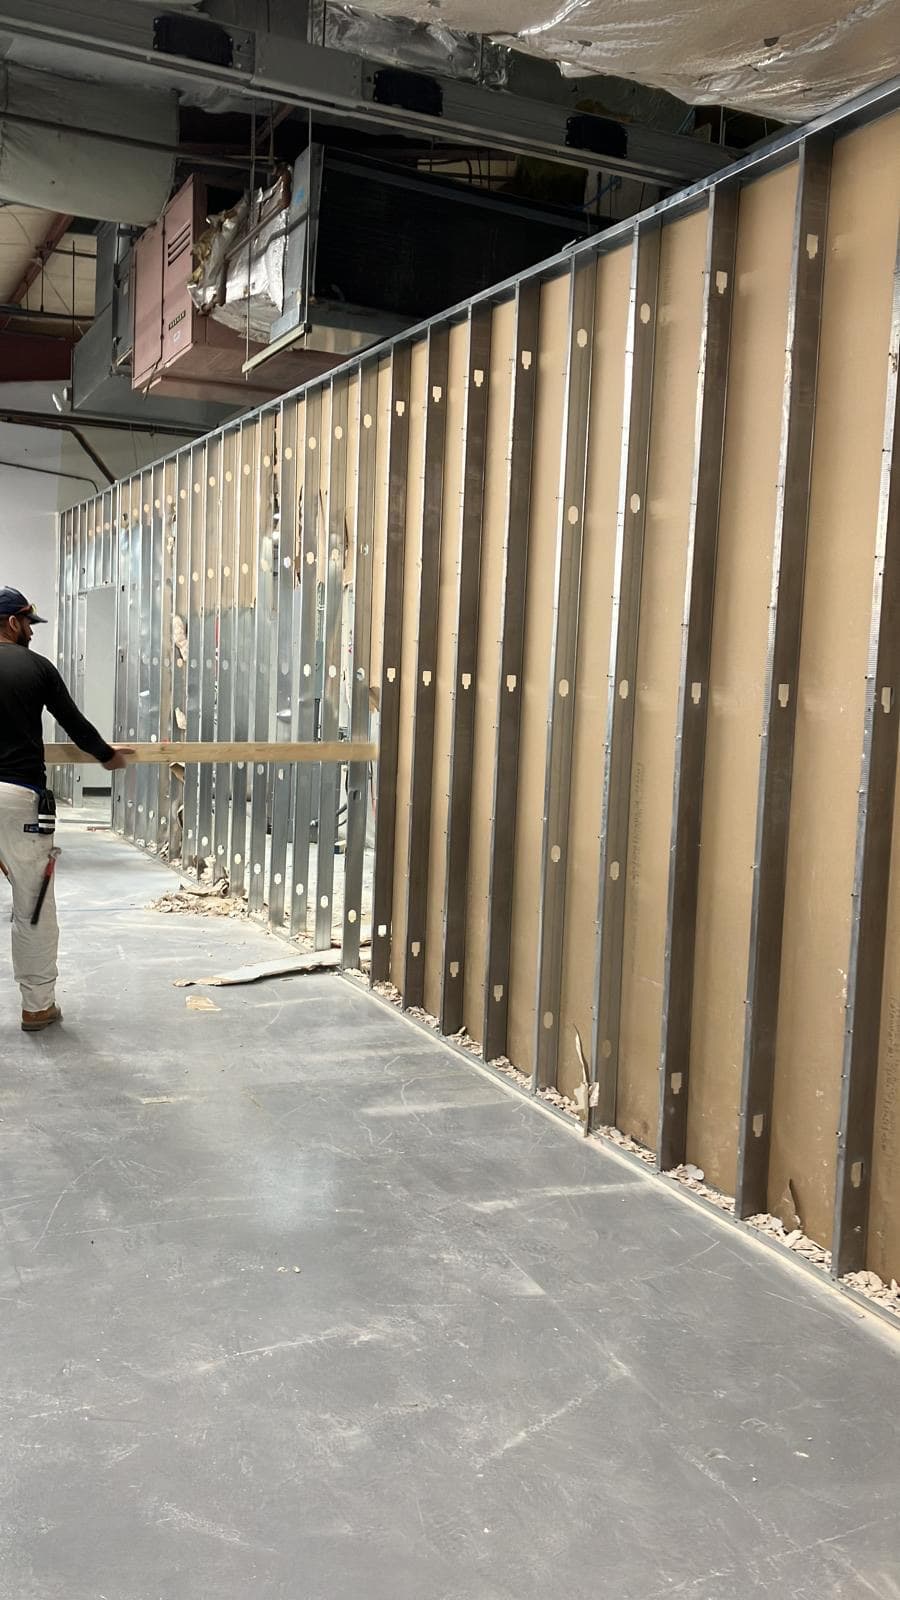
Insulation goes in first to meet Massachusetts energy code and keep the new space comfortable through New England winters and summers. After an insulation inspection, drywall is hung, taped, and finished, which is the point where raw framing suddenly looks like actual rooms.
Then comes the fun stage most homeowners picture when they imagine an addition: finish work. This includes flooring, trim and finish carpentry, interior doors, paint, cabinets, countertops, tile, and the light fixtures and plumbing fixtures being installed and connected. Details and craftsmanship matter here, and this is often where a good contractor really shows.
Finish work usually takes several weeks because there are so many trades and small details involved. It can feel slow near the end, but it is what turns the shell into a finished, livable room.
Step 7: Final Inspection and Handoff
Before you can fully use the new space, your town does a final inspection to confirm the completed work meets code. In many cases a certificate of occupancy or completion is issued once everything passes. This is the official sign-off that the addition is safe and ready.
Your contractor should walk the finished space with you and create a punch list, which is a short list of small touch-ups or fixes to complete. Good crews handle these quickly and clean up thoroughly before they leave.
At this point the addition is truly yours to enjoy. Keep your permit paperwork and any warranties in a safe place, since they are useful for future maintenance and important when you eventually sell.
Timeline and Living Through Construction
From first design conversation to final inspection, many additions run somewhere in the range of a few months to more than half a year, depending on size, weather, permit timing, and material availability. Your actual schedule will be clearer once the design and scope are set, which is one more reason a free estimate is a smart first step.
Living in your home during an addition is very doable with a little planning. Expect some dust, noise, and workers coming and going during the day. Talk with your contractor about how the work area will be sealed off, where materials will be stored, and which utilities might be briefly interrupted.
A few simple habits help: keep a shared point of contact for questions, set up a temporary space for any displaced rooms, and check in regularly so surprises get caught early. Clear communication is what makes a big project across Greater Boston feel manageable instead of overwhelming.